Leica M Typ240 Camera Review


Leica M 240 & 50 Summilux ASPH (Black)

Leica M 240 & 50 Summilux ASPH (Black)

I remember the anticipation was building up for the Leica announcement at September of last year, no one was certain what improvements can be done on the already excellent Leica M9. The tension was there until I saw the video  of John Dooley from the Leica Academe demonstrates the new Leica M. Immediately I was attracted by the camera, it offers so much more than the M9 as a camera but it was until I read online debates all around forums regarding to CMOS vs CCD brought doubts in mind too. Until now, when I finally received the new Leica M typ 240 camera that all my doubts have vanished.

There still are not too many Leica M typ240 cameras out around the world as of June, 2013 and this is due to supply issues from Leica (See public statement from Leica). Other than waiting on the long list of Leica dealers, the only alternative would be paying for a big premium to cut the queue. Nevertheless, it is well worth the wait and there is no-going back to the Leica M9 after using the new M substantially.

9179775328_38db5f4b96_b.jpg

"Survival of Strongest" - Leica M + 50 F1.4 Summilux ASPH


Improvements Compared to the Leica M9

The new Leica M typ240 improved all the short-comings of that Leica M9 users have asked for: higher resolution screen, quicker camera processor, faster buffer, quieter shutter sound, better ISO performance and overall much improved functionality.


Leica M240 & 50 Lux ASPH Chrome Set

Leica M240 & 50 Lux ASPH Chrome Set

 Build Quality

The build quality of the Leica M is simply amazing. It is build even better than the Leica M9 but maintained similar weight. The camera feels impeccably solid and the body is carved out of a single piece of brass. As a proud Leica MP owner myself,  the Leica MP is undoubtably the best build film M camera until the present. The engineering standard matches the pinnacle of Leica film era, if the Leica MP stands for "Mechanical Perfection" then the new Leica M can be labelled "Digital Perfection." The build quality is equally as solid as the Leica MP.

Image Quality (CMOS vs CCD)

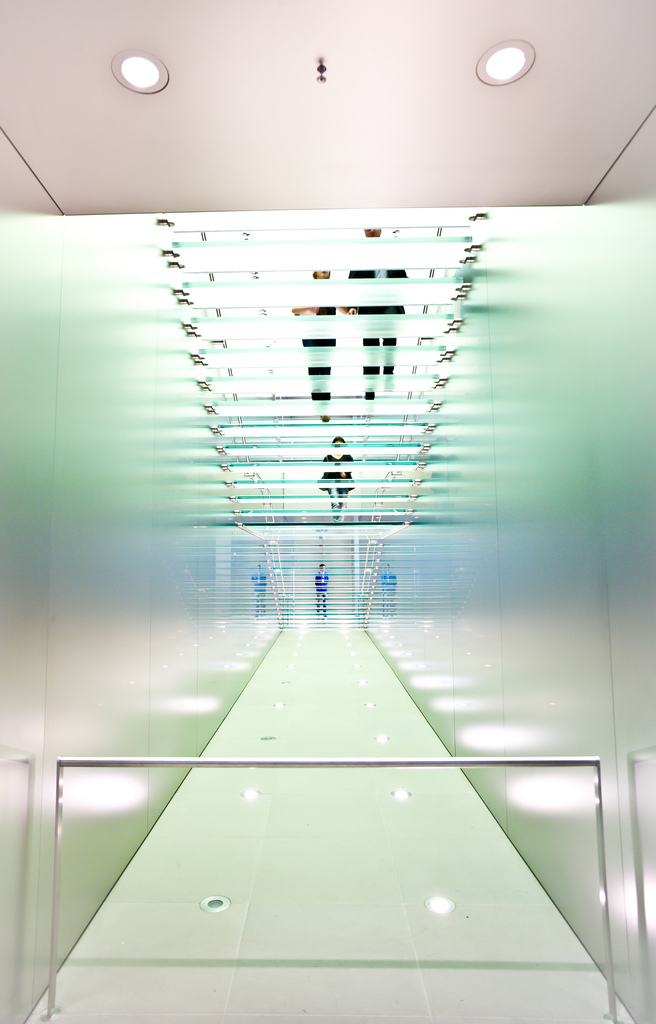
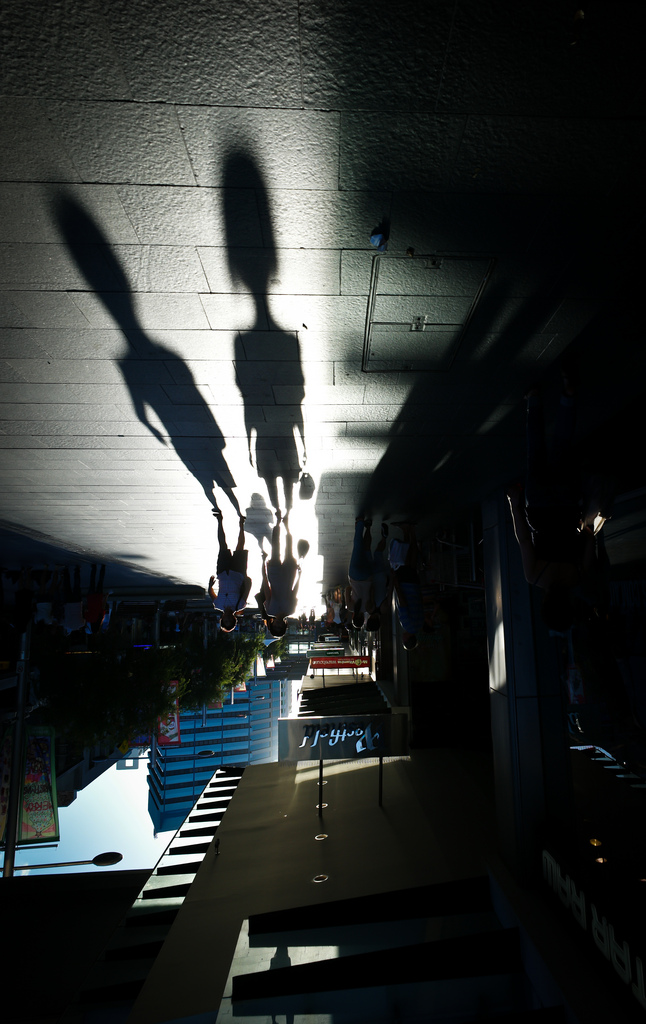
 "Queen Victoria Building"  - Leica M + 21mm F1.4 Summilux ASPH

 "Queen Victoria Building"  - Leica M + 21mm F1.4 Summilux ASPH

Prior to obtaining the Leica M that I have seen enough online images from the camera to conclude the rendering is different with the new sensor. However, the sensor inside the Leica M is no ordinary CMOS sensor, it is specifically made for Leica by an Italian manufacturer named "CMOSIS." After shooting the Leica M,  the rendering is smooth, sharp with rich colours whereas the Leica M9 files are crisp with vibrant colours.

The Leica M offers about two stop better than the M9  in terms of ISO performance, I would state the files are usable even at ISO 6400 with noise reduction in post-processing.  The CMOS sensor is not better or worse than the CCD sensor, each has its own characteristics and produces an unique image rendering.

Functionality

Leica M240 & 21 Summilux ASPH

Leica M240 & 21 Summilux ASPH

The Leica M typ240 improves greatly in overall functionality compared to the Leica M9, it feels like a complete camera. There is no question that the Leica M9 outputs amazing images but the Leica M makes the M9 feels like incomplete in the functionality department. The Leica M is the perfect digital camera, it feels like a "real" camera with the new LCD, new design and fast processor. The LCD screen has improved significantly on the Leica M, the screen size and resolution increased from 2.5" and 230,000 pixels on the M9 to 3" and 920,000 pixels on the Leica M. The new Menu on the Leica M appears to be modernly designed yet maintained the navigation simplicity of the Leica M9, all the features are in one clean and simple menu list.  The in-camera processor has been updated to a much faster processing electronics and this combined with the new LCD provides users with immediate feedbacks. The shutter sound on the Leica M is different to the Leica M9, it is much quieter yet solid without the re-cocking sound on the M9. The new shutter produces more pleasant sound to the ears and increases discreetness when shooting at quite locations.  The transition of the electronic frame lines from the Leica M9 titanium onto the new Leica M is a great addition, the electronic frame lines will adjust its brightness according to the light source thus offers better visibility through the viewfinder.

The battery life of the Leica M improved significantly over the Leica M9, the voltages increased from 3.7v on the M9 to almost double with 7.4v for batteries on the M.  The real-life battery usage increases from around 400 to about 1,000+ shots. This prolonged battery life offers extended period of camera use and fewer batteries to carry.

The Leica M9 is prone to issues such as camera freezes regularly and SD card compatibility issues. I have not observed or yet encounter any of these issues after using the Leica M extensively and this reduces the burden on the user during shooting process.  


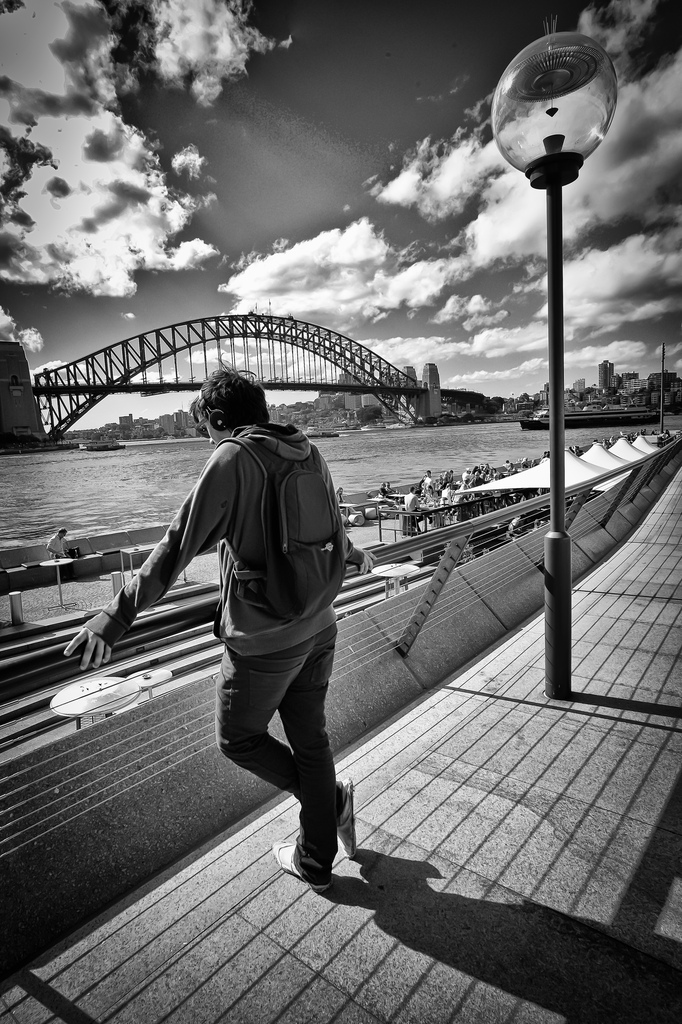
 "Opera Sunset" -  Leica M + 50mm F1.4 Lux ASPH

 "Opera Sunset" -  Leica M + 50mm F1.4 Lux ASPH

Camera Use/Settings Tips

  • Format your SD with external software "SDformatter" rather than in-camera format, as this will cut down start-up time from 4/5 down to about 2 seconds to avoid missing the "moment."

  • Set your metering to centre-weighted and exposure to classic just like the good old Leica M9, this will avoid camera lag when out shooting.

  • Use the live-view function combined with rangefinder mechanism will significantly increase your hit rate when the streets, it is the perfect tool for street photography. The new features do not remove good-old fashion rangefinder shooting but only add to the versatility.

  • For image settings, I tend to use original image settings rather than new film filters offered as I found them to look "different". It is recommend to set Sharpness and Saturation to Standard whilst contrast to High to offer the closest look to M9 files, post-processing is definitely also important but luckily the new M comes with the powerful Lightroom 5.
 

Street Portraits

8599414925_5ebcf949b3_c.jpg

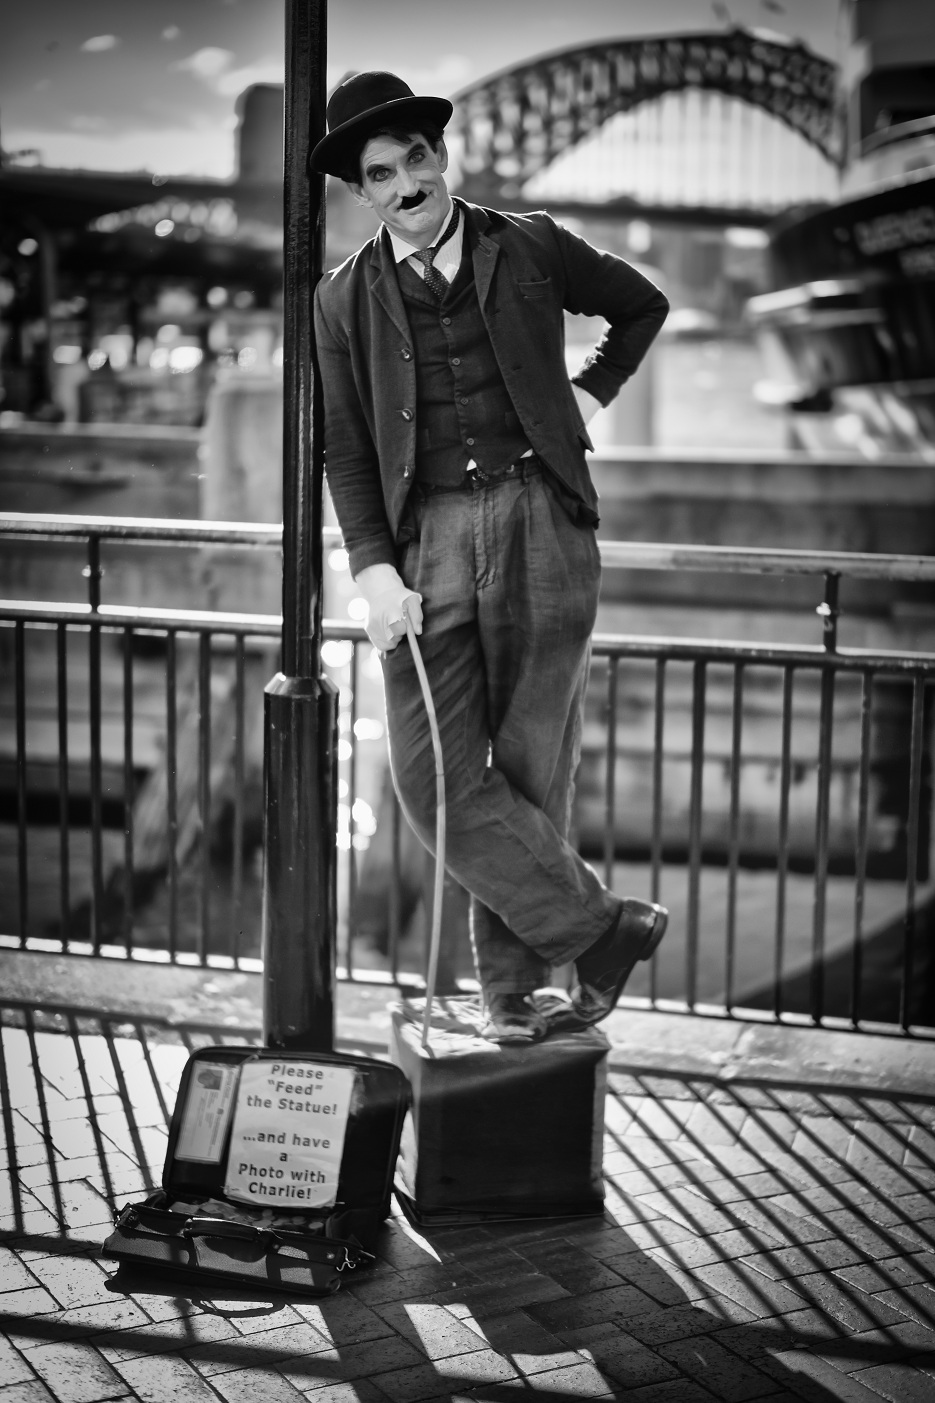
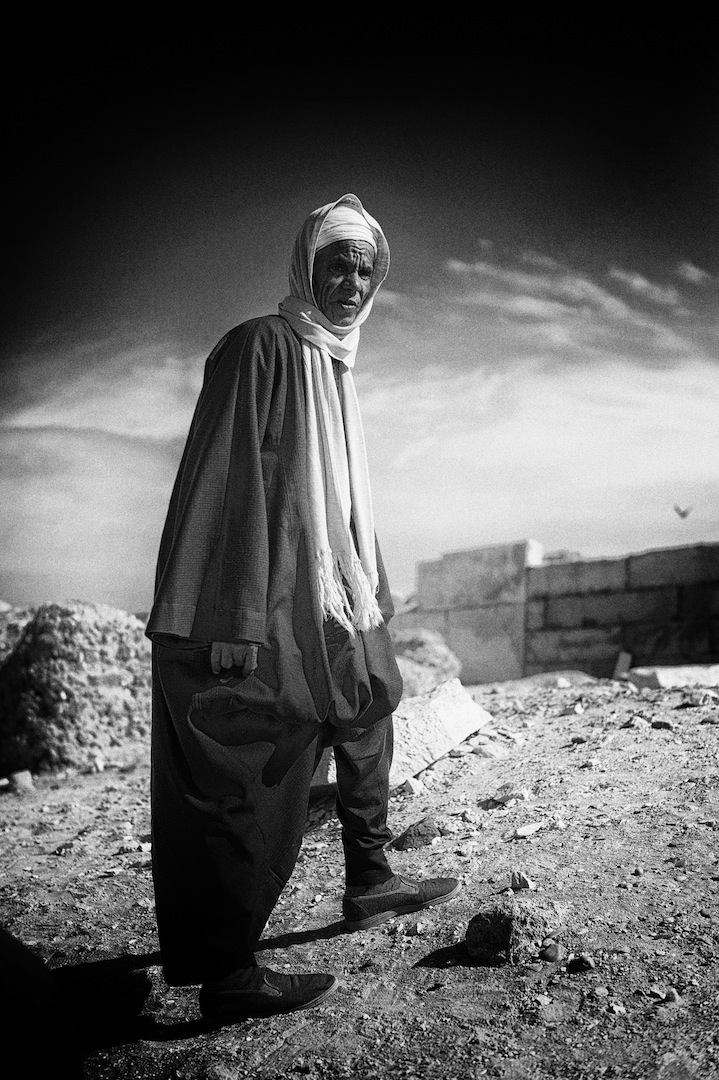
​Do you ever have that feeling there isn't much happening around where you live? That you are just taking the same boring shots after another? Most photographers do get that feeling at some stage of their photography journey, they feel that there isn't too many interesting things in the city where you live day-by-day. Well, this is not true, THERE IS ALWAYS INTERESTING PEOPLE OR SUBJECTS AROUND YOU EVERYDAY! If you have or are having this feeling, then It is time for you to re-think about your photographic subjects or starting a new project that will open a new dimension for your photographs.

8630203861_aca8c8252c_c.jpg

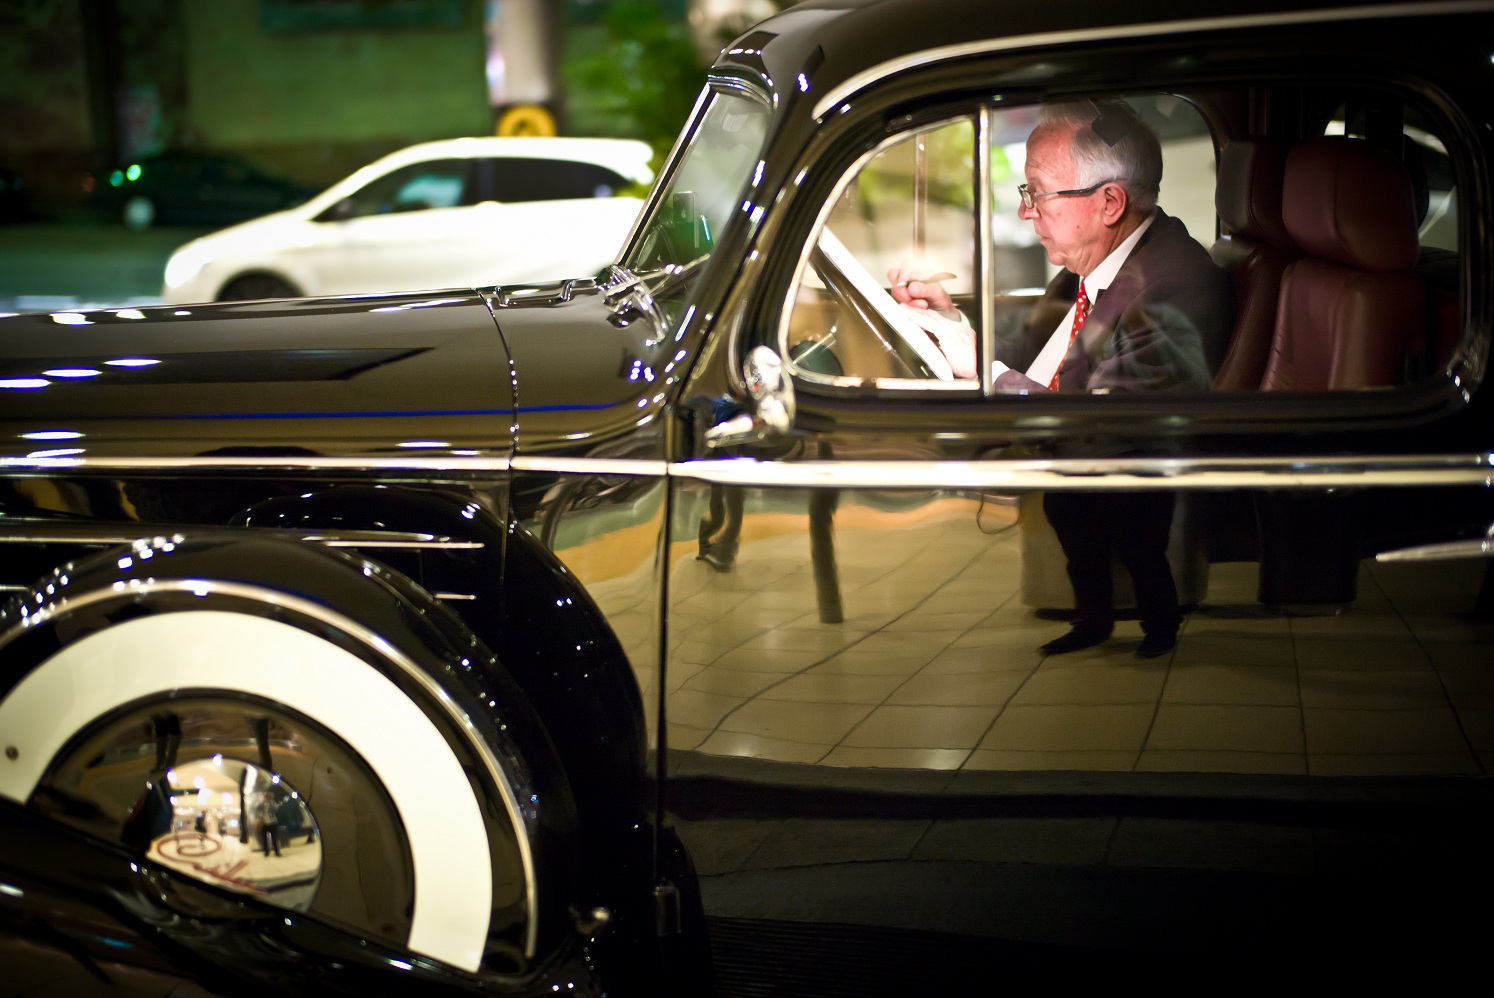
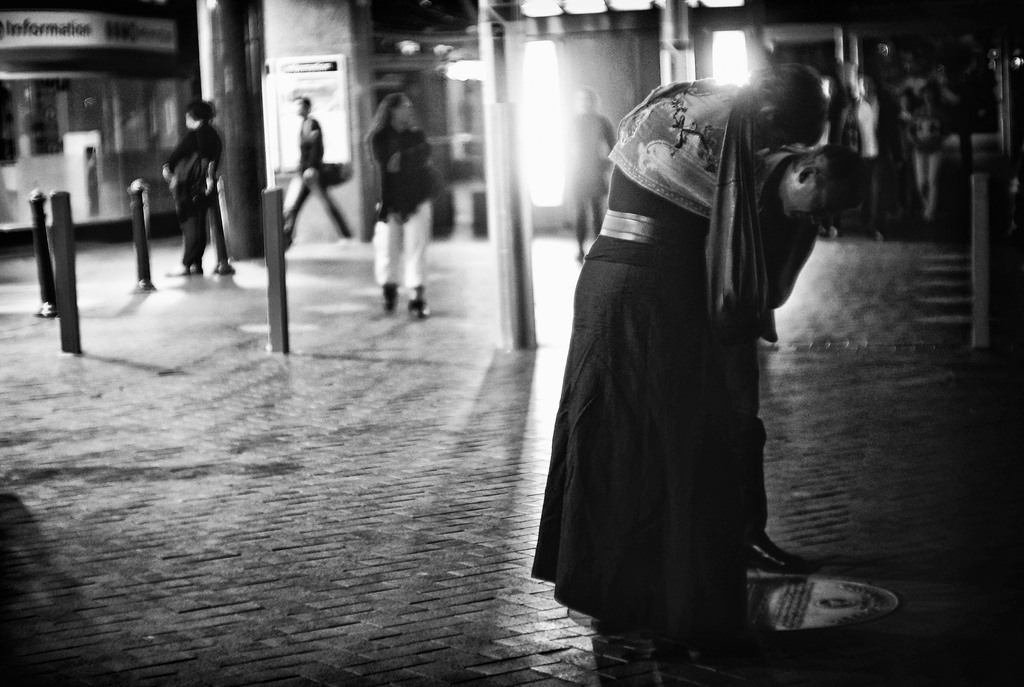
​Next time when you want to go out your home and hit the streets, you should try walking a different route, taking photos of different subjects or keep an eye open for interesting people that captures your attention. I personally believe that EVERY single person has their own story and it is a street photographer's duty to capture that in the best of his/her abilities. If you are afraid of approaching to strangers then you can try all those street photography techniques such as shoot-from-hip, low angle shots, pretending you are shooting something else, etc. However, it is best if a photographer can eventually engage with his subject by approaching them personally and communicate with them, trying to get a glimpse of their moment or their story is the best way to get a natural photograph of the person.

8279646265_d340c594bf_c.jpg

​Just remember, there are ALWAYS interesting subjects around you and it is your obligation as a photographer to find them, be open about your photographs, get creative as this will open a new realm of interesting moments. 

More of my "Street Portraits" work at:​

http://www.flickr.com/photos/jerrybay/sets/72157633113750711/​

8623436763_56890d060e_c.jpg
8519647797_dc97866c28_c.jpg
8463628611_97086998aa_c.jpg

Canon 50mm F1.2 LTM lens Review (compared with Canon 50mm F0.95 lens)

Canon 50mm F1.2 LTM lens Review

Click Here to See the Latest Review on Canon 50mm F0.95 “Dream Lens”


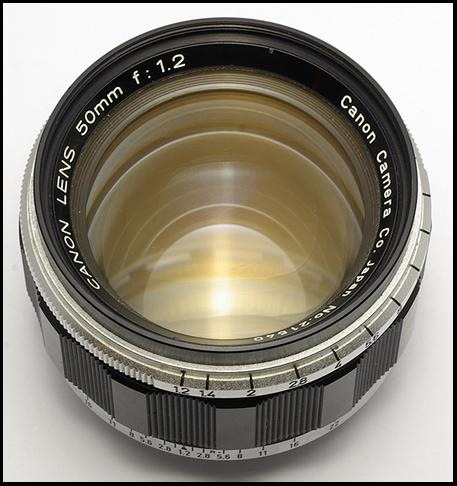
I am a big fan of large aperture lens and bokehliciousness images. Since I already have possession of the Schneider Xenon 50mm F0.95 lens that I could not justify spending another 3k on the Canon 50mm F0.95 lens. Alternatively, I had my eye on a similar Canon offering: the Canon 50 F1.2 lens. This is was introduced by Canon in 1956 and it was the fastest mass market lens available in Leica Thread Mount at that time.  This lens is less than a stop slower than the Canon's famous big brother and the prices is only about a quarter of the F0.95 lens.

iphone-(null)-0.jpg

Size and Build Quality


There are two chrome versions of this lens and also a limited completely black version made specifically for Black rangefinders. The lens in this review is the version one of this lens imprinted "CANON CAMERA CO. Japan" on the front of filter thread.
The Canon 50mm F1.2 LTM lens  is much smaller and lighter than the Canon 50mm F0.95 lens, it weights at 323grams compared to 605grams of the F0.95 lens. The Canon 50mm F1.2 LTM has similar build quality to the F0.95 lens and built with Canon's signature black and satin chrome finish. Overall, the lens feels well built and feels solid  in the hands.

iphone-(null)-1.jpg

Image Quality and Rendering


The Canon 50mm F1.2 LTM lens is comprised of 7 elements in 5 groups and with aperture range from f/1.2 to f/22. There are 11 aperture blades with a minimum focusing distance of 1 meter. The filter size thread on this lens is 55mm and filters may be applied accordingly.
The rendering of images is very similar to the Canon 50mm F0.95 lens. Certain photographers buy that  lens because they love the bokeh produced by it. In this case, the Canon 50mm F1.2 lens does not disappoint in this regard and offers that typical Canon bokeh.  The Canon 50mm F0.95 is also well-known for its "softness" when shot wide open, which has the reputation for been a "perfect" portrait lens. In terms of wide open performance, the F1.2 lens surpasses its bigger brother and offers higher resolution and sharper images when shot at F1.2. When stopped down, the sharpness of image progressively increases and peaks at F8. The best resolution is provided at F4 and in terms of sharpness this Canon lens can compete with other lens brands  in Leica LTM mount to produce very detailed images when stopped down.

LTM mount

The Canon 50mm F1.2 lens is in Leica Thread Mount (LTM) and can be mounted on
any traditional Leica Screw Mount camera. To use this lens on the Leica M mount then an adapter is required to convert from LTM to Leica M mount. It is a simple type of adapter and there are many offerings  but to allow the lens work flawlessly with great calibration then a well-machined adapter is necessary. I highly recommend buying the genuine Voigtlander or Novoflex LTM to M adapter as they are extremely well-built and will not incur any "loose play" like the cheaper eBay adapters.


Conclusion 

It is an amazing lens that can be had for a relatively cheap price that works like a charm on any Leica rangefinder camera. Most importantly, it is a fun lens to shoot withand offers a very unique rendering.


The Leica 21mm F3.4 Super-Elmar ASPH M lens Practical Review


I had the Zeiss 25mm F2.8 Zm lens in my possession during the last year but eventually sold the lens as I did not used it much nor did I like using an external viewfinder. Sometimes when I looked back at the images it produced that I regretted selling it and I am eager to get another wide angle lens. Following the announcement of the newly designed Leica 21mm F3.4 Super-Elmar ASPH lens last year, I decided to get my hands on this lens. It took me awhile to find one since the lens was relatively new in Leica's line-up. Here is a simple review of the lens and its practical useage.

Build Quality & The Feel

The Leica 21mm F3.4 Super-Elmar ASPH lens is a superbly constructed lens like all other Leica M lens, its build quality is typical Leica standard. The size and weight of the lens is about as perfect as it gets, not too big and not too heavy, when mounting on the Leica M9/MP it felt well balanced.

Image Quality

This lens is renowned for its insane sharpness and it does not disappoint. The images produced from this lens are sharp from corner to corner and when zoom-in to 100% crop the details are amazingly retained. It is probably up there with Leica's sharpest lenses if not the sharpest.
The rendering of this lens has tendency to the warm side and the colour images coming out of this lens are vivid. This lens also produces astonishing sharp and punchy Black and white images.

External viewfinder

Although I am not a big fan of external viewfinders but an external viewfinder is necessary for accurate framing. There are two genuine options for a 21mm external viewfinder: Zeiss and Leica. Other options are available such as voigtlander but they are difficult to find or match cosmetically with the lens setup. The Zeiss viewfinder is bigger and brighter than the Leica one, it also costs a few hundred bucks lens. The Zeiss 21mm viewfinder coming at nearly $500 isn't cheap but the Leica one even costs more. I bought the Zeiss 21mm viewfinder myself and it is a real enjoyment to view through it since it looks even better than my M9 or MP rangefinder viewfinder.

Conclusion:

If you are looking for an ultra sharp wide angle lens for the Leica M body that balances well and not too big or heavy then do not look further, this is the lens to get!

8136974915_a887b6e80a_b.jpg

Why choose Leica?

Leica – a timeless classic

Today I would like to write about what got me into street photography from the start, a Leica. The Leica's discreetness and unmatchable image quality with a Leica glass is what separate a Leica from all other cameras. I started with the digital M9 first then eventually got the film MP, which is the common route for modern Leica users.

The build quality of Leica is exceptional; it's like nothing you ever hold in hands. It is made of all metal, feels dense and solid. The weight is right, not too heavy and not too light, all of this is the result of German Engineering. It is necessary to have the right photographic tool as this will forms the bond with the photographer and when you go out shooting that it will motivates you to create beautiful images.

The viewfinder is beautiful and bright and it is probably the brightest out of all 35mm cameras. It is a pleasure to view through it and most importantly it does not block a photographer's view, which allows your eyes to connect with the subject. The way of viewing through a rangefinder allows the photographer to anticipate what is coming to your frame to capture the "decisive moment." A Leica is truly an "extension of your eye."

Leica lens are renowned for their highest standard of optical quality thus producing amazing image quality. The unique CCD sensor is in the heart of the Leica M9 and it offers an unique rendering, which results in vivid colours and ultra sharp images. The combination of this unique sensor and the Leica glass are known to create that "Leica Look."

The simplicity of the Leica M design really makes the shooting process more enjoyable. Nothing unnecessary exists on the camera as it strips down to the essence of photography. This allows the photographer to focus on the basics of shooting, back to the roots and in my opinion this in turn can challenge a photographer's skills to create better photos. The camera is discrete and unobtrusive, which makes the photographer as part of the scene. The discreetness is really the size and the Leica shutter, the click of the shutter is quite and smooth like "music to the ears."

The focusing on a rangefinder is quite challenging since a Leica M is an all-manual operation camera and if the focus if off then it is your problem. However, the focusing skills come with practice through time and you will get a lot faster with patience.

Overall, Shooting with a rangefinder Leica M is a rewarding process and makes the user feels like in total control. I took the Leica with me to everywhere in the world and it helped me to become a better photographer.

Schneider Kreuznach Xenon 50mm F0.95 lens Review

Schneider Kreuznach Xenon 50mm F0.95 lens Review

I was searching for an ultra large aperture lens on the Internet and have found this very special lens. It is extremely rare and I can hardly find any samples online, so I decided to share some knowledge I learnt and experiences from using this unique lens.

Build Quality and Size

The Schneider Xenon 50mm F0.95 is made in Germany and Schneider is a highly reputable optics manufacturer. The weight and size is similar to the famous Leica Noctilux 50mm F0.95, it feels heavy and solid in the hands. It is densely made with all metal and built like a tank. The weight of the lens is about 700grams so it is a bit front heavy when you mount on a camera, which is the similar case with the Noctilux.

Lens Mount

The Schneider 50mm F0.95 lens is a C-mount lens which is designed for cinematic usage and that is why it has very special characteristics. I bought a C-to-E mount adapter to allow the lens to be used on the Sony NEX-7. The angle of view of the Schneider 50mm F0.95 is about 33 degrees, although it does not cover full frame but close enough for APSC size sensors. I was very tempted to send this lens to a highly skilled Japanese technician who can modify this lens into the M mount, which can be used on my Leica M9 and MP but decided to hold off the modification for now. You may notice some vignetting on some photos but this can be a positive thing, which all depends on personal preferences.

Image quality

The lens design is made of 6 elements in 8 groups and it contains 6 aperture blades. The closest focusing distance is 0.8 meters, which is not too far and not too close. The aperture range varies from F0.95 to F11 (as indicated on my lens barrel) and there are 3 versions of this lens. My lens is the latter version with the distance scale indication.

The Schnedier 50mm F0.95 is capable of shooting in super lowlight conditions, as it sucks in all the light available and it is perfect for night scene usage.

The rendering is very unique as defined by its bokeh, some people may not like the bokeh it produces but it has lots of characteristics. You can get extremely bokehlicious images and it has that “swirly” bokeh can almost sucks you! When shooting portrait with this lens, it provides almost painting-like quality that is very pleasing to the eye. Also when using it for Black and white photography, it offers that “film look”, which makes it very attractive for b&w purist shooters.

I have found the images are adequately sharp when shot wide open and the sharpness improves when stopped down.

Practical use

The lens is very useful in low light conditions, which makes a big difference in practical use compared to my F1.4 summilux at night and it is all you need on a Sony Nex-7. It is useful for street photography when combined with the tilt shift screen on the Nex-7 that can be used like a waist-level finder; F0.95 allows a very fast shutter speed thus making the combination fast and discrete for street use. The rendering is very special with swirly bokeh that can almost sucks you in, which can even make boring subjects look very interesting. It is the perfect lens for portraits as it renders the image with painting-like characteristics that makes the background melts away. The Schneider 50mm F0.95 is also great for black and white shooting since it provides that almost “film look” on today’s digital bodies.

This lens is full of surprises and I am still discovering more characteristics each time I use it. It is a very pleasant lens to use both on streets and for portraits, I would recommend anyone that likes the images produced from this lens to hunt one down as it is quite rare! 

For my Flickr Set by the Schnedier Xenon 50mm F/0.95 can be viewed here.

7460783884_26c7bdf562_b.jpg
7460768236_10468069b3_b.jpg
7703589518_b4c6e65132_b.jpg
7491741072_6881822099_b.jpg
7979402625_eba02eb3d2_b.jpg
7505540628_c53464633f_b.jpg
7484641816_6d2de760f2_b.jpg
7703564024_d18ca3c5f2_b.jpg
7491762932_057395234c_b.jpg

Using the Hasselblad for Street Photography

am a street photographer based in Sydney and I have a strong passion for photography in general. I used the Leica M9 and MP as my main tools for street photography in the past couple of years but recently decided to acquire something different. The temptation of medium format have always been there but I could not justify the cost of digital medium format cameras, at least for now.

Hasselblad has always been my dream medium format camera and luckily I got the chance to buy a Hasselblad 2000FC/M camera body with a A12 magazine at a very reasonable price that got me started into medium format. The world of medium format film photography was new to me so I had to learn everything from the start. I got a grasp of how the Hasselblad V system works very quickly since I had quite a bit of experience shooting film before.

First thing I noticed when holding the camera is its superb build quality, I have held many Leica cameras before but this thing is different, it is built like a tank; heavy and solid. The Hasselblad 2000FC/M with a lens attached is significantly heavier than my Leica M9 with a 50 Summilux ASPH combo but still lighter than a full-frame DSLR setup.

The viewfinder on the Hasselblad V system is like nothing else I have experienced, big and beautiful. It is almost like a live-view 3 inch LCD screen in the modern days but even better since it is all optical rather than electronic. Viewing through the viewfinder is a pleasure and truly a treat to eyes. I have upgraded the original stock viewscreen to a even brighter Accute Matte D screen that helps to achieve faster and more accurate focusing for street photography.

The Hasselblad V system is equipped with a waist-level viewfinder and it is perfect for street photography. You can simply hold the camera at your waist aimed at your subject and most people don’t even know that you are taking a picture. It’s discreteness is perfect for the streets. The shutter click sound is no where as quite as a leaf shutter or Leica quietness but it is still a pleasure to hear the mirror flipping when the shutter fires.

One of the big advantage of the Hasselblad system over other medium format film systems is its inter-changeable backs, which allows swap between different films on the go. There are several different types of film magazines available that can shoot different number of exposures. The most common is the A12 magazine, which allows photographers to shoot 12 frames of 6×6 exposures of 120mm film. You simply insert the dark slide to remove the film back and apply another back loaded with the film you desire. Therefore, you don’t have to wait until all exposures to be finished and able to shoot B&W or Colour during the same photo-shoot.

The lenses are made by Carl Zeiss thus equates to superior image quality. There are several different types of lenses for the V system, some with lens built-in Synchro Compur shutter like in C and CF lenses and some without that uses the in-camera shutter like the F lenses. My Hasselblad 2000FC/M can uses all three types of lenses since it has a built-in shutter and a top shutter speed of 1/2000 second. The optics are all made by Carl Zeiss and has the typical Zeiss quality with its renowned 3D rendition. Some people buy the system because of their famous lenses. There are also difference in lens coating and are noted by the T* sign. The lenses I used are the Carl Zeiss 150mm F4.0 CF T* lens which is equivalent to 94mm in 35mm format, which is the perfect lens for head and shoulder portraits. I am also using the “magical” lens in the Hasselblad world , the Carl Zeiss 100mm F3.5 C T* lens that is equivalent to 63mm and it is a mysterious lens that is rarely used but contains some magical qualities. One day I hope to get the “Noctilux” of Hasselblad, which is the Carl Zeiss 110mm F2 lens that will produce stunning bokeh!

I loved shooting with 35mm film on my MP, although the film qualities are presented i.e. the great exposure latitude, dynamic range and tonality but the sharpness is not up to the standard that I desired. Medium format film seems to be the “Perfect” solution for this, it has incredible sharpness, even at 100% crop looks tack-sharp amazing to me. Although with the significant gain of resolution over 35mm film but it still retains all the film qualities that makes it so attractive. There is also a great gain in shallower Depth-of-Field and the bokeh from the lenses are incredible. The frame is 6×6 which makes it a unique square shape that stands out from all other images. I have yet to print those images in large sizes but have heard that you can even blown them up to 2 by 2 meters prints, which is perfect for commercial usage.

It has been a real joy to use the hasselblad and I am still amazed at its quality. While my journey in the medium format world continues that I would highly recommend for anyone wanting try out medium format film photography : do not hesitate!

Please feel free to visit my Flickr or 500px to see more of my work:

Flickr: HYPERLINK “http://www.flickr.com/photos/jerrybay/” http://www.flickr.com/photos/jerrybay/

500px: HYPERLINK “http://500px.com/jerrybay” http://500px.com/jerrybay


"UFO" - Kodak Ektar 100

"UFO" - Kodak Ektar 100

"J&M" - Fuji Pro400H

"J&M" - Fuji Pro400H

"Circus Lady" Kodak Portra 400

"Circus Lady" Kodak Portra 400

"French Nun" - Fuji Reala 100

"French Nun" - Fuji Reala 100

"Gossip Girls" - Kodak Portra 400

"Gossip Girls" - Kodak Portra 400

"In the Wind" - Fuji Pro400H

"In the Wind" - Fuji Pro400H

"1958 Chevrolet-Corvette" - Delta HP5+

"1958 Chevrolet-Corvette" - Delta HP5+

"Black Riders" - Delta HP5+

"Black Riders" - Delta HP5+

"Father & Son" - Ilford Delta 400

"Father & Son" - Ilford Delta 400

"Hairy Chest" - Delta HP5+

"Hairy Chest" - Delta HP5+

Launching of the Website

Today is the first day launching of this website, it has been always in my mind to create a personal website dedicated to my photography works and I am glad that finally made the decision. 

From now on it means dedication and commitment as this is the next stage of my photography journey. There will be new photos, new posts and regular maintenance dedicated to this website. Hope all of you will enjoy my website and feel free to make a comment or ask any questions!